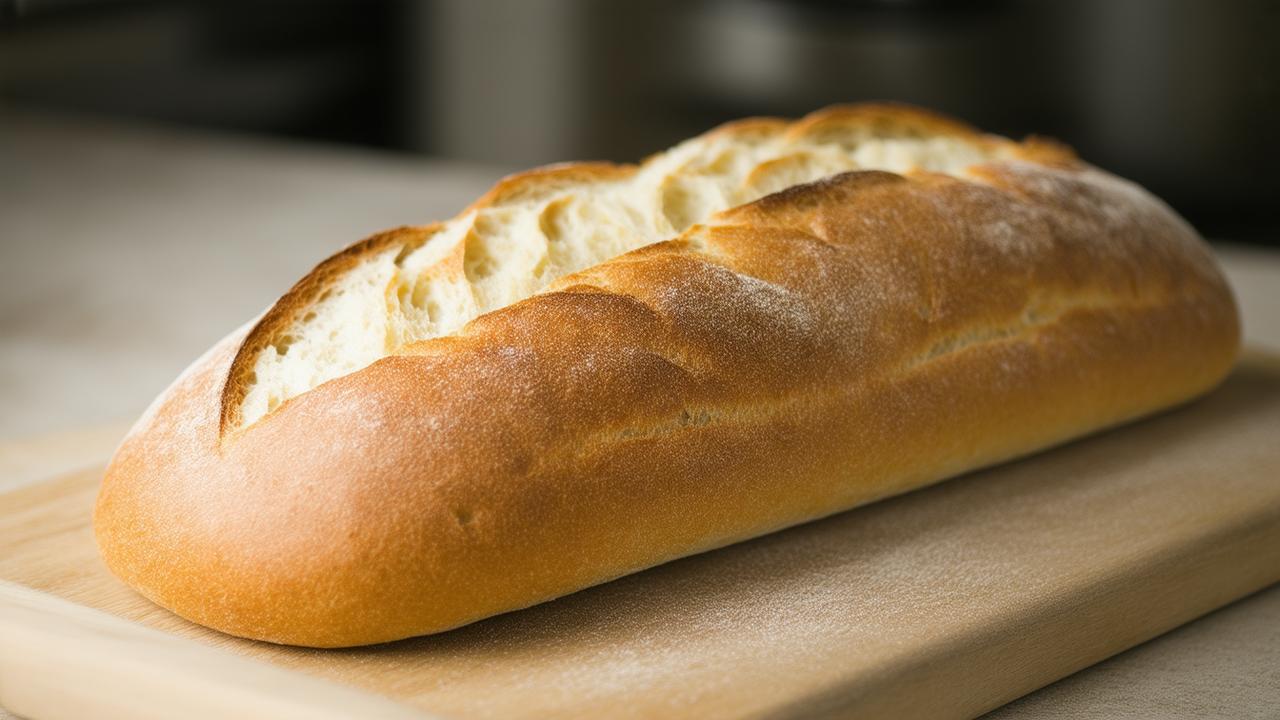
The loaf is still warm when you bring it home, cradled in a paper bag that whispers as you walk. The crust crackles under your fingertips; the crumb smells of toasted grain and yeast and the faintest hint of smoke from the bakery’s oven. You know this bread won’t last more than a day on the counter. You also know that if you wrap it in plastic or foil and tuck it into the freezer, it will surrender that shattering crunch you fell in love with, returning as something a bit… rubbery. So you stand in your kitchen, the bread knife ready, and wonder: is there a way to freeze bread, skip the plastic, and still get that crisp, bakery‑fresh crust back?
The Little Lie We Tell Ourselves About “Fresh” Bread
Most of us have a quiet ritual when we get bread home. Some slide the whole loaf into a plastic bag, twist tie tight, and push it to the back of the freezer. Others keep it on the counter, convincing themselves they’ll finish it before it stales. We talk about “fresh bread” as if it’s a short‑lived miracle, gone in a day or two, so we either rush to eat it or resign ourselves to a dense, leathery toast later.
But bread is more forgiving than that. What kills its charm is not time alone, but how we trap or lose its moisture. Plastic keeps the moisture in too well, bleeding it into the crust so it goes soft and chewy in the wrong way. Foil suffocates it, then tears when frozen, leaving odd freezer flavors to sneak in. We’ve inherited this habit because it’s convenient and because most of us haven’t questioned it.
Yet there is a quieter, simpler practice—one that feels almost old‑fashioned—that lets you freeze bread without plastic or foil and still bite into a crackling, golden crust days or weeks later. It starts with noticing the bread itself.
First, Listen to the Loaf
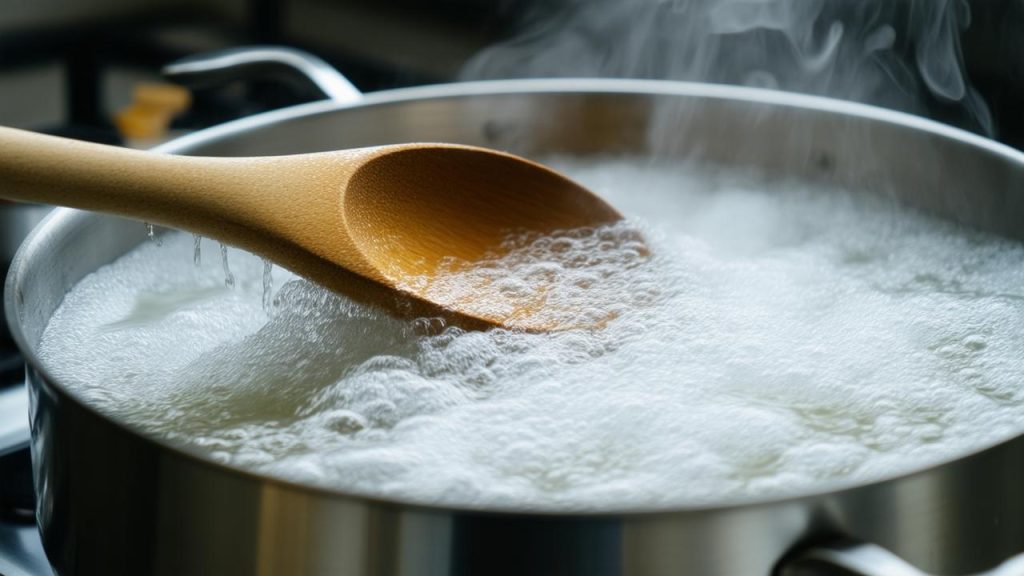
Stand at your counter with the bread in front of you and do something slightly unusual: listen. Place your hand on the crust. If it still feels warm, if the crust whispers and crackles, it is not yet ready for the freezer, no matter how you pack it. Trapped steam is the enemy of crispness. Freeze a warm loaf, and you lock extra moisture into the crust and crumb; thaw it, and it emerges heavy and oddly damp.
Let your bread cool completely, until it is truly at room temperature. That may mean an extra hour out of the bag, on a wooden board or a clean tea towel. Then, before you even think about freezing, decide how future‑you will eat this bread. Will you want full slices for sandwiches? Thick slabs for toast? Rustic hunks to dip into soup? This is the moment to commit.
You’ll be slicing once, now, instead of hacking through a frozen half‑thawed brick later. There’s something unexpectedly mindful about it: you’re planning for future breakfasts and slow Sunday lunches, and it feels like an act of care.
The No‑Plastic, No‑Foil Freezer Ritual
Here is where the ritual becomes almost meditative. You need three things: a cutting board and bread knife, a clean cloth or paper bag, and a freezer‑safe container—glass or sturdy metal works beautifully. No plastic wrap, no zip bags, no foil.
Slice the cooled loaf according to how you’ll use it. Spread the slices out in a single layer on a tray or large plate and slide them into the freezer just long enough to firm up—about 30 to 60 minutes. This “pre‑freeze” step stops slices from sticking together and helps preserve texture. When you pick one up, it should feel solid on the surface but not frozen through like a stone.
Now nestle the slices upright in your container, like files in a little frozen library. They shouldn’t be crammed tight; a tiny bit of space between them lets cold air move and avoids frost buildup. Close the container and return it to the freezer. That’s it. No crackling plastic, no foil to toss later, just a neat, reusable box of bread waiting for you.
For whole or half loaves, the rhythm is similar. Let the loaf cool completely, then place it inside a clean cotton or linen bag or wrap it in a thick tea towel. Slide the wrapped loaf into a container large enough to hold it without squashing. The cloth absorbs surface moisture, helping the crust remain defined instead of soggy, while the container shields it from freezer burn.
The Quiet Magic of Cloth and Container
This combination works because it respects the bread’s balance of air and moisture. Plastic traps every vapor; cloth gently buffers it. The rigid container blocks the dry blast of freezer air. Instead of a slow dehydration or a steamy suffocation, the bread slumbers in a kind of controlled stillness. You’re not embalming it; you’re pressing pause.
Bringing Frozen Bread Back to Life
The real test of any bread‑freezing method isn’t how tidy it looks in the freezer; it’s the sound the crust makes when it meets a knife after thawing. The good news is that reviving bread without plastic is just as simple as freezing it—if you resist one common urge.
The urge is the microwave. It is quick, yes, and it’s also ruthless. It wakes the water inside the bread too fast, then lets it cool into toughness. Instead, let the bread thaw in a calmer way, then lean on your oven or toaster to restore crispness.
For pre‑sliced bread, take out only what you need. If you have time, place the frozen slices on a plate for 10–15 minutes to lose their chill, then toast them in a medium‑hot toaster or in a 180–200°C (350–400°F) oven for a few minutes. The heat drives off a bit of surface moisture and coaxes the crust back into a gentle crackle.
For a whole or half loaf, remove it from the container but keep it wrapped in its cloth while it thaws at room temperature—usually 1–2 hours, depending on size. When the loaf feels soft all the way through, unwrap it and slip it directly onto the rack of a hot oven, 180–200°C (350–400°F), for 8–12 minutes. Listen as it comes out: that delicate crackling song means you’ve done it right.
Timing at a Glance
| Bread Type | From Freezer To Plate | Crisping Method |
|---|---|---|
| Sliced sandwich bread | Toast directly from frozen, or thaw 10–15 minutes first | Toaster on medium or 5–7 min in 180°C (350°F) oven |
| Artisan boules / sourdough slices | Thaw 10–20 minutes | Oven 6–8 min at 190–200°C (375–400°F) |
| Half or whole loaf | Thaw 1–2 hours in cloth | Oven 8–12 min at 190–200°C (375–400°F) on rack |
| Buns & rolls | Thaw 20–30 minutes | Oven 5–7 min at 180°C (350°F) |
Choosing the Right Container (And What You Already Own)
You don’t need a new set of anything to start freezing bread without plastic. Your kitchen almost certainly holds at least one good candidate already. A glass casserole with a fitted lid. A metal cake tin with a sliding top. Even a sturdy lunchbox with a reliable clasp. If it is rigid, closes fairly well, and fits in your freezer, it can be a bread vault.
What matters is not a perfect seal but protection from strong air currents and stray odors. Freezers are not quiet places; they hum with cold air rushing around packages, carrying whispers of garlic pizza, last week’s fish, or cut onions. Bread, with its open crumb, is a polite houseguest that absorbs every scent offered to it. Your container is a gentle boundary.
That cloth or paper layer around the bread? It plays a second role, too. It reduces the small crystals of ice that like to build up on exposed surfaces over time. A tightly woven cotton tea towel, a reusable bread bag, or even a doubled‑up paper bag becomes a tiny climate system around your loaf, softening the shock of deep cold.
A Quick Guide to Everyday Options
If you’re standing in your kitchen right now, eyes on your cupboards, here’s a simple way to decide what to use:
➡️ Nivea: “I’m a dermatologist and I studied the blue cream’s formula, here’s my honest take”
➡️ Psychology highlights the three colors used by resilient, persevering people
➡️ A new kitchen device may soon replace the microwave for good, and experts say tests show it is far more efficient
➡️ At 2,670 meters below the surface, the military makes a record-breaking discovery that could reshape modern archaeology
➡️ If, at 70, you can still remember these 7 things, psychology says your mind is sharper than most people your age
➡️ Day will turn to night: the longest solar eclipse of the century now has an official date, promising a rare and spectacular event
➡️ Find of the century: gold bars discovered more than a kilometre underground, all traced back to a single nation in a surprising twist
- Glass containers: Best for seeing what’s inside; heavier but excellent for slices and rolls.
- Metal tins: Lightweight, often slim; good for small freezers and baguette chunks.
- Ceramic dishes with lids: Ideal if you freeze bread only occasionally and have a bit more space.
Any of these, paired with a wrap of cloth or paper, will quietly replace the drawer full of single‑use bags you thought you needed.
Why This Tastes Better (And Feels Better Too)
The reward for this small change is both tangible and subtle. Tangible: a slice of bread that browns evenly, whose crust fractures with a gentle snap, whose crumb is tender rather than gummy. Subtle: the small satisfaction of doing right by the food you chose and the place you live.
Bread is one of the simplest things we buy and yet one of the easiest to waste. A stale half loaf tossed in the bin is invisible among the chaos of a busy week, but multiplied across households, it becomes mountains. When you learn how to freeze bread in a way that makes you excited to eat it later, you waste less. You buy better bread, less often, and you use it all.
There’s also the quiet freedom from a particular kind of clutter. No roll of foil teetering in the drawer, no box of bags inching toward empty. Just a few trusted containers and a stack of tea towels or bread bags that cycle from loaf to loaf, season to season. Your freezer begins to look calmer, more intentional. Every box of bread is a small promise to your future self: breakfast, ready when you are, and actually delicious.
And when you open the oven and pull out a once‑frozen, now‑revived loaf, the kitchen fills again with that familiar, mouth‑watering smell. The crust glows amber; the bottom sounds hollow when you tap it. You cut a slice, steam curls up, and the knife sings against the crisp edge. No plastic, no foil. Just flour, water, salt, and a little bit of care that followed the bread all the way from the bakery to your table.
Frequently Asked Questions
How long can I keep bread in the freezer using this method?
For best flavor and texture, aim to use frozen bread within 1–2 months. It will stay safe longer, but the quality slowly declines, especially the aroma and crispness.
Can I freeze supermarket bread that already comes in plastic?
Yes. You can remove it from the plastic, let any condensation dry, slice if needed, then follow the cloth‑and‑container method. Or use up the plastic bag once, then switch to reusable storage for future loaves.
Does this work for gluten‑free bread?
It does, and often works even better than plastic. Gluten‑free bread stales faster, so slice it, pre‑freeze the slices, and store in a container. Toast straight from frozen or after a short thaw for best texture.
Can I refreeze bread once it’s been thawed?
Ideally, no. Refreezing increases dryness and lowers quality. Instead, freeze in portions you know you’ll use in a day or two so you only thaw what you need.
What if my bread comes out of the oven too hard after reheating?
You likely used a temperature that was too high or reheated for too long. Next time, lower the oven slightly and shorten the time by a few minutes. If a loaf is already too hard, wrap it briefly in a barely damp towel and warm it at a low temperature to soften the crust.
Can I skip the pre‑freezing step for slices?
You can, but slices may freeze together in clumps and be harder to separate later. The short pre‑freeze keeps them neat and makes it easier to take just one or two at a time.
Is parchment paper a good alternative if I don’t have cloth?
Yes. Parchment or a plain paper bag can stand in until you have a cloth or bread bag. Wrap the loaf or slices loosely, then place in a container to protect from freezer burn and odors.