The first time I watched the late afternoon sun pour across my living room floor, I saw everything: the soft grain of old oak, the scuffs from winter boots, faint scratches from a chair dragged just a bit too roughly. The boards glowed where the light caught them, but between those bright streaks lay a dullness I couldn’t ignore. I’d mopped, I’d swept, I’d listened to a dozen well-meaning recommendations—vinegar, wax, oil soaps, miracle sprays. Still, my hardwood looked tired, like it remembered better days. What finally brought it back to life wasn’t a fancy bottle or some harsh chemical; it was a simple, almost old-fashioned trick hiding in plain sight in my own home.
The Myth of Vinegar and the Mess of Wax
If you’ve ever searched online for “how to make hardwood floors shine,” you’ve probably seen vinegar at the top of every list, dressed up as a cure-all. The idea sounds wholesome: a natural, cheap, non-toxic wonder that your grandmother probably used. For a while, I believed it too. One weekend I filled a bucket with warm water, added a good splash of vinegar, and went to work. The house smelled sharp and “clean” in that vinegar way, and at first, the floor did look brighter.
But a few weeks later, something bothered me. The floor didn’t just look dull again; it almost seemed flatter, lifeless. The soft glow I loved had turned into a slightly cloudy matte. That’s when a flooring professional explained what vinegar actually does: it’s an acid. Gentle, yes, but over time it can slowly eat away at the finish that protects your hardwood. It doesn’t strip it overnight; it just nibbles at it, month after month, cleaning but quietly erasing the shine you’re trying so hard to keep.
On the other end of the spectrum is wax—the old-school, labor-of-love approach. There’s something romantic about it: buffing wax into wood, coaxing out a deep satin glow. But romance fades quickly when you realize wax builds up, attracts dirt, turns patchy, and can make future refinishing a nightmare. Wax also doesn’t play well with many modern polyurethane finishes. Instead of enhancing the surface, it can sit on top, hazy and smudged, like fingerprints on a window you just cleaned.
So there I was, left between the acid and the build-up, wondering if there was a way to bring out the soul of my wood floors without slowly damaging them or starting a lifelong wax relationship I’d regret.
The Surprisingly Simple Trick Most People Overlook
The answer came not from a brand-new product, but from understanding what hardwood floors actually need. Your floors don’t want to be “soaked” in anything. They don’t respond well to harsh acids or thick coatings that sit on top and suffocate them. What they truly like is gentle, consistent care: dirt removed before it can scratch, just enough moisture to lift grime without swelling the wood, and a light, compatible finish refresher to restore that lost glow.
The simple trick? A three-step ritual using things you mostly already have—or can find easily and inexpensively:
1. Dry clean religiously (dust, sweep, or vacuum correctly).
2. Lightly damp-mop with a pH-neutral, hardwood-safe solution (not vinegar, not soap, not oil).
3. Finish with a thin layer of a water-based hardwood floor polish made for your type of finish, buffed gently with a microfiber pad.
No wax. No vinegar. No strange home chemistry experiments. Just a slow, methodical approach that respects the finish already on your floor instead of trying to fight it or replace it with an aggressive shortcut.
It isn’t flashy, but there’s something quietly satisfying about watching wood respond to being treated properly. The first time I followed this routine all the way through, my floor didn’t look like a glossy bowling alley. It looked like itself—only fresher, cleaner, with a gentle sheen that caught the light and made the room feel calmer, more grounded.
Step One: Clearing the Grit You Can’t Really See
Before any kind of shine is even possible, the invisible villains have to go. Dust, sand, pet hair, small grit from outside—all of it acts like microscopic sandpaper every time someone walks across your floor. You know that soft scraping sound a chair sometimes makes when it moves? That’s the sound of tiny abrasions being carved into your finish.
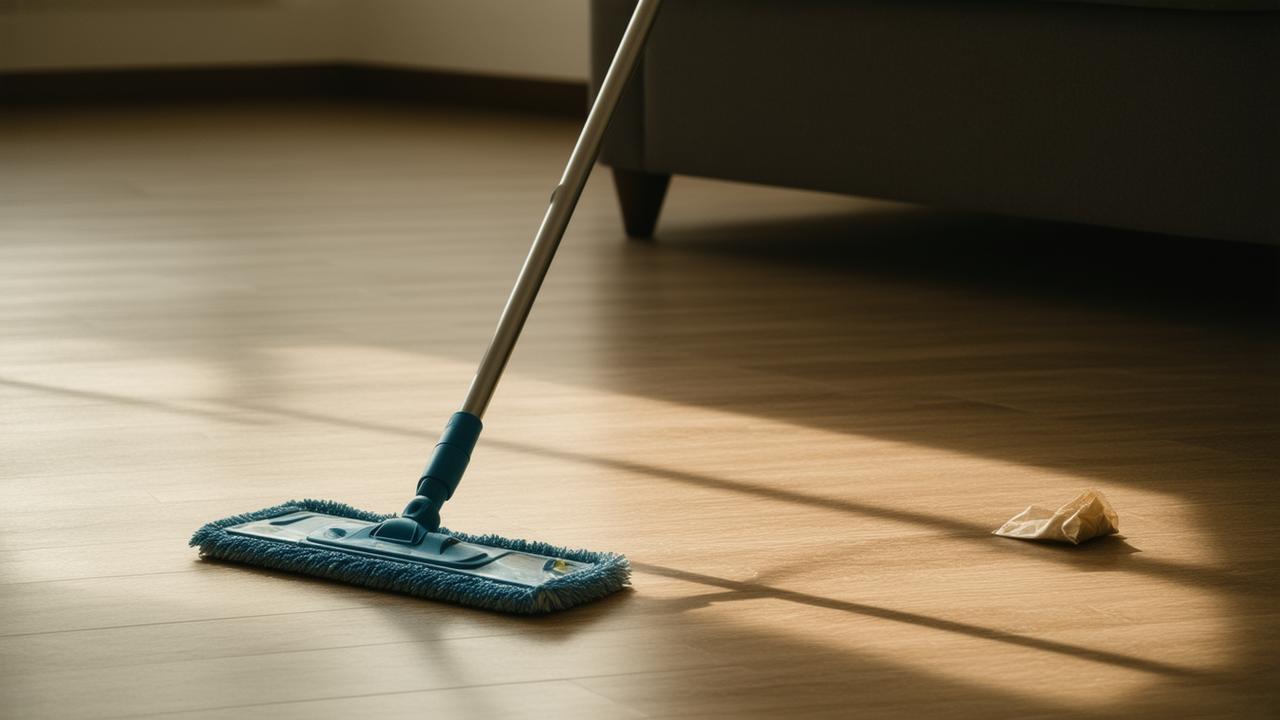
The fix is simple but powerful: get religious about dry cleaning. Not the clothes kind—the dusting kind. Instead of waiting until the floor looks dirty, think of dust as something always present, just waiting to settle. A quick daily pass with a soft microfiber dust mop or a vacuum set to “hard floor” mode can change everything. The goal is not perfection; it’s consistency.
Imagine sliding across your floor in socks. When it’s clean, you feel that smooth, uninterrupted glide. When grit builds up, there’s a subtle drag, a faint scratchiness underfoot. That texture is your warning sign. Over time, those tiny texts from your floor become permanent messages in the finish—scratches that no cleaner will erase.
Once I started thinking of dry cleaning as “protective polishing,” not just “getting rid of dirt,” I stopped treating it like a chore and more like brushing my teeth: small effort now, big problems avoided later. And it set the stage for the real shine to return.
Step Two: The Gentle Clean That Doesn’t Steal Your Shine
Here’s where many people reach for vinegar, strong detergents, or whatever all-purpose cleaner is nearby. But hardwood is picky. It doesn’t like harsh chemicals or soap that leaves a film behind. It wants what’s called a pH-neutral, residue-free cleaner designed specifically for wood floors.
You don’t need much. In fact, you want very little. The mop shouldn’t slosh or drip. If water is pooling on the floor, it’s too wet. Think “slightly damp cloth” rather than “mop and bucket from a movie cleaning scene.” Water is still wood’s ancient enemy; even sealed boards can swell or cloud if repeatedly soaked.
The process becomes almost meditative: you fill a small spray bottle with your hardwood-safe cleaner (often already diluted), mist a light section of the floor, and glide a microfiber mop over it in long, even strokes. You’re not scrubbing; you’re coaxing up the film of invisible life—skin oils, pet paw residue, cooking vapors, and the faint stickiness that accumulates where bare feet love to land.
Room by room, the wood starts to feel different under your feet. Not sticky, not slippery, just… clean. You see the natural pattern more clearly. The planks seem to breathe again. You haven’t added shine yet—but you’ve stripped away what was muting it.
Step Three: The Light Touch That Brings Back the Glow
This is where that “looks-like-new” transformation happens, and it’s where people are often tempted to reach for heavy wax or oily products that promise instant glassy gloss. The trouble is, those thick layers sit on top of the finish instead of blending with it, and they tend to attract dirt, show footprints, or turn cloudy over time.
Instead, think of using a water-based hardwood floor polish or restorer designed to work with your existing finish—usually polyurethane in modern homes. These polishes are thinner, gentler, and intended not as a permanent layer, but as a refresh that can be reapplied when needed without creating that gummy buildup.
The trick is minimalism. You pour a small amount of polish into a shallow tray, or apply it sparingly to a microfiber applicator pad. Then you move across the floor in smooth, overlapping strokes, always going with the grain where possible. The polish should look like a whisper of moisture—no puddles, no streaks. If you see milky swirls, you’re using too much.
As it dries, the floor quietly transforms. First, a slight haze appears, then soft clarity returns as the polish cures. Within the hour (sometimes less), you’ll notice the way light now dances more evenly across the boards. Scratches don’t vanish, but many shallow ones look softened, less obvious, absorbed into the overall glow.
That’s the moment when the room feels subtly new, even though nothing major has changed. The same furniture, the same rug, the same view—but the floor has reclaimed its role as the quiet, reflective stage for everything else.
➡️ France and Rafale lose €3.2 billion deal after last?minute U?turn
➡️ Not 65 or 75: France officially confirms the real age limit to keep your driving licence
➡️ Hygiene after 60: experts reveal that neither daily nor weekly washing is ideal, and explain the surprising shower frequency that truly helps you stay healthy and thriving
➡️ Restoration experts say a microfiber cloth soaked in this simple homemade solution can bring old wooden furniture back to an almost brand-new finish
➡️ I learned it at 60 : few people know the difference between white eggs and brown eggs
➡️ Not Harley-Davidson and not Honda, this is now America’s top selling motorcycle brand
➡️ Hanging bay leaves on the bedroom door : why it’s recommended
A Simple Routine You Can Actually Maintain
The true magic of this no-vinegar, no-wax approach is that it fits into real life. You don’t need a free weekend to strip layers, no need to move every piece of furniture out of the house. Instead, you fold floor care gently into your routine in small, manageable pieces.
| Task | How Often | What to Use |
|---|---|---|
| Dust / Sweep | Daily or every other day | Microfiber dust mop or hard-floor vacuum |
| Damp Mop | Once a week (more in high-traffic areas) | pH-neutral hardwood floor cleaner + damp microfiber mop |
| Polish / Refresh | Every 2–3 months or as needed | Water-based hardwood polish compatible with your finish |
When you divide the work like this, it stops feeling like a big “project” and becomes a quiet habit, like opening the curtains each morning. You dust because it buys you time before scratches start. You damp-mop because it protects the invisible shield that makes your floors shine. And you polish occasionally, not as an emergency fix, but as a gentle refresh—like moisturizing skin that’s already clean and cared for.
Over the months, you notice something else: you’re not hunting for miracle products anymore. The panic that comes with a dull floor starts to fade. Instead, you learn to read your wood: how it looks after a rainy week, how it responds to a big gathering with guests, how the boards near the entryway age differently from the ones under the bed. Your routine grows with the floor itself, not against it.
Living With Wood, Not Fighting It
There’s a quiet intimacy that comes with really seeing your floors. Not as a backdrop, but as a living part of the house—breathing, swelling, shrinking, reflecting the seasons and the lives walked across it. When you stop attacking it with harsh acids and burying it in wax, you start working with it instead.
The shine you’re after isn’t the plastic gleam of a commercial show floor. It’s that gentle, believable glow that makes bare feet feel instinctively welcome. It’s the way light skims over the boards in late afternoon and seems to deepen the color of the grain. It’s hearing guests say, “Your floors look amazing,” and knowing you didn’t have to strip them or seal them or start over—you just cared for what was already there.
In the end, the simple trick isn’t a single ingredient or secret chemical. It’s the decision to step away from vinegar’s slow erosion and wax’s heavy mask, and instead choose a small, thoughtful ritual: remove the grit, gently clean, and lightly refresh. No drama, no gimmicks. Just attention, patience, and respect for the wood under your feet.
The next time the sun pours across your living room or kitchen, pause and really look. Notice the color, the reflections, the way the floor holds the memory of every day you’ve lived on it. Then grab your dust mop, your gentle cleaner, and that modest bottle of polish—not to chase perfection, but to let your hardwood look the way it was always meant to look: softly, quietly, beautifully alive.
Frequently Asked Questions
Is vinegar ever safe to use on hardwood floors?
Vinegar is not recommended on modern sealed hardwood floors. Its acidity can slowly dull or cloud the finish over time, even when diluted. For long-term shine and protection, use a pH-neutral cleaner specifically labeled safe for wood floors.
What’s the difference between polish and wax?
Wax is thicker and more permanent, often building up on the surface and complicating future refinishing. Modern water-based polishes are lighter, designed to work with existing finishes, and can be reapplied or removed more easily. For most newer hardwood floors, a compatible polish is safer and more practical than wax.
How do I know if my floor has a polyurethane finish?
Most hardwood floors installed or refinished in recent decades use polyurethane. If the surface looks like a clear, hard coating sitting on top of the wood (rather than soaking in), it’s likely polyurethane. If you’re unsure, test a hidden area or check any old paperwork from installation or refinishing.
How often should I polish my hardwood floors?
For average homes, every 2–3 months is usually enough, with high-traffic areas sometimes needing a light refresh a bit more often. Over-polishing can create build-up, so it’s better to polish only when you notice the shine fading, not on a rigid schedule.
Can I use steam mops on hardwood?
Steam mops are generally not recommended for hardwood floors. High heat and moisture can force steam into seams and tiny gaps, potentially damaging the finish or causing the wood to swell. Stick with a lightly damp microfiber mop and a hardwood-safe cleaner instead.
What if my floors are already cloudy or streaky?
Cloudiness often comes from residue left by soaps, vinegar, or incompatible products. Start with a thorough clean using a residue-free hardwood cleaner, and avoid adding new layers until the film is gone. If buildup is severe, a professional deep cleaning may be needed.
Will this routine fix deep scratches and gouges?
No routine cleaning or polishing can repair deep damage in the wood itself. Light surface scratches may look less noticeable after polishing, but deeper gouges typically require spot repair, sanding, or professional refinishing to fully erase.