The first time you notice it, it’s almost nothing—a faint gray line shadowing the edge of an otherwise bright tile. Then one day, sunlight slants across your floor or shower wall at just the right angle, and there it is: dingy, dark, stubborn grout lines that make the whole room feel older than it is. You scrub a little harder the next time you clean. Maybe you buy a “miracle” spray. But slowly, grudgingly, you start thinking the same thought so many homeowners have whispered into their coffee: “Do I need to rip all of this out and start over?”
The Moment You Realize It’s Not the Tile, It’s the Grout
Grout has a way of sneaking up on you. Tiles are easy to love—they shine, reflect light, feel cool under bare feet. Grout is the stuff in between, the quiet background player. You barely notice it when it’s clean. But dirty grout? That’s all you can see.
Maybe it’s the kitchen floor, where a hundred tiny spills from tomato sauce, coffee, and last night’s red wine have slowly seeped into the porous lines. Or the bathroom, where steam, soap scum, and hard water have formed a dingy halo around every tile. The tiles themselves might still be in great shape, but the grout lines look tired, yellowed, and older than they have any right to be.
And because grout is, by design, rough and porous, it doesn’t behave like the tiles. Mops slide gracefully over the ceramic or porcelain but skip right past those thirsty grooves. Dirt settles in, sinks deeper, and holds on like it pays rent there.
It’s easy to assume the only real fix is a brutal one: scrape out the old grout, clouds of dust drifting through the room, and start from scratch. But before you reach for power tools or your contractor’s number, there’s a quick, low-drama trick you can try at home—one that can make your grout look dramatically better in an afternoon, without demolition, drama, or a renovation budget.
The Quiet Science of Why Grout Looks So Filthy
To understand why this trick works, you have to look closely at what grout actually is. Run a finger along the line between your tiles. It feels slightly rough, almost sandy. That’s because most traditional grout is cement-based, full of tiny pores and micro-cracks invisible to the naked eye. Those little spaces are perfectly sized to trap everything you don’t want to see: dust, oils from bare feet, microscopic mold spores, and the residue of whatever cleaning products you’ve used over the years.
Every time you mop with a dirty bucket, some of that gray water seeps down into the grout lines and stays there. Every steamy shower in a poorly ventilated bathroom gives mold and mildew the warm, damp embrace they adore. Over time, what was once bright beige or crisp white grout turns into something murky, patchy, and deeply discouraging.
But here’s the important part: in many cases, that dirty grout isn’t “ruined.” It’s just holding onto years of build-up. You don’t always need to replace it; you just need to coax all that grime back out and then protect what’s left.
That’s where the quick home trick comes in: a simple, targeted, hands-on clean with basic supplies, followed by a small but powerful finishing step that most people skip.
The Quick At-Home Trick: A Little Paste, A Little Patience
There’s a certain quiet satisfaction that comes from tackling grout with your own two hands. It’s a slow, methodical task—almost meditative if you let it be. No jackhammers, no contractors. Just you, a brush, and a plan.
Here’s the basic approach many homeowners swear by, and it starts with something surprisingly humble: a cleaning paste. You’re not looking for harsh fumes or industrial-strength solvents; you’re looking for something that will cling to the grout, break down oils and stains, and lift them out of those tiny pores.
One popular method uses a simple paste made from baking soda and a mild liquid (often water or a bit of gentle dish soap), paired with an acidic partner like white vinegar or a dedicated grout-safe cleaner. The baking soda brings a gentle abrasiveness, the kind that scrubs without gouging. The vinegar or cleaner helps dissolve soap scum, hard water marks, and light mineral deposits.
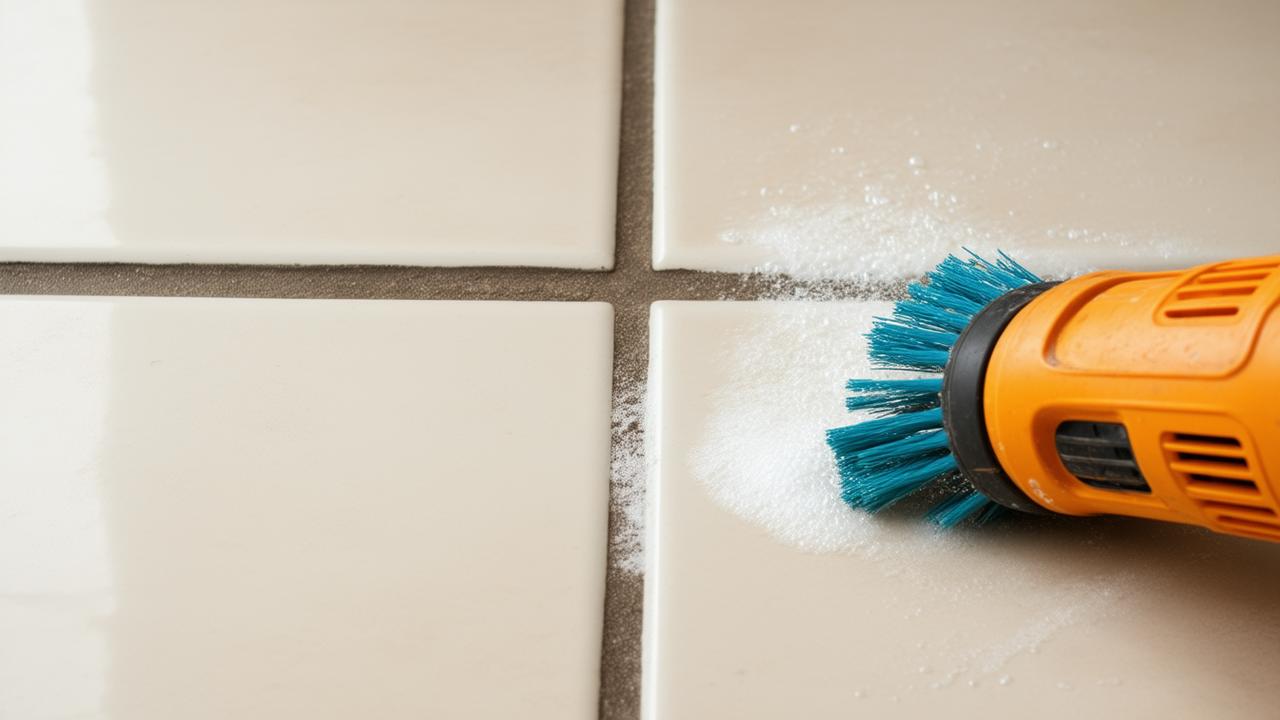
You spread the paste along the grout lines, not in a rush but in an even, deliberate way. You let it sit—this waiting is the part most people shortcut, but it’s when the magic happens. Ten, fifteen, even twenty minutes can give the solution time to work its way in. Then comes the brush: firm bristles, circular motions, the quiet rhythm of stain lifting from stone. As you scrub, you may notice the paste turning gray or brown. That’s your proof—years of grime, finally letting go.
After a thorough rinse and wipe, something quietly wonderful reveals itself: your grout isn’t perfect, but it’s brighter, more even, less tired. And you did it without a single tile coming off the wall.
A Handy Comparison of Grout-Cleaning Options
Different messes, different lives, different tools. Here’s a simple snapshot of common at-home approaches and how they tend to behave in the real world.
| Method | Best For | Effort Level | Notes |
|---|---|---|---|
| Baking soda paste + vinegar or gentle cleaner | Everyday grime, light to moderate staining | Medium | Great DIY starting point; low cost, low fumes, surprisingly effective. |
| Oxygen bleach (non-chlorine, grout-safe) | Deeper stains, older grout lines | Medium–High | Strong but usually tile-safe; follow label, ventilate, test in a corner. |
| Steam cleaner (with grout attachment) | Soap scum, mildew-prone bathrooms | Medium (after setup) | Uses heat instead of chemicals; not ideal for very loose or crumbling grout. |
| Chlorine bleach-heavy products | Severe mold, deep discoloration on light grout | Medium | Use sparingly; strong fumes, may lighten grout and affect some surfaces. |
| Regrouting or professional cleaning | Crumbling, missing, or permanently stained grout | High (or higher cost) | Last resort when DIY tricks can’t restore appearance or integrity. |
The Secret Step Most People Skip: Sealing the Freshly Cleaned Grout
There’s a small window of time after you clean your grout when it’s at its most vulnerable and its most beautiful. The pores are cleared out, the surface is bare and receptive, and for a brief moment, it looks almost like new. This is the moment to lock in your work.
Grout sealer might not sound glamorous, but in the quiet, practical world of home care, it’s a quiet hero. Once your grout has fully dried after cleaning (usually at least 24 hours, sometimes longer depending on humidity), applying a penetrating sealer can help fill those microscopic pores with something other than dirt—something designed to repel stains instead of absorbing them.
The process is patient but straightforward. You trace each grout line with a small applicator bottle, brush, or sponge, almost like coloring inside the lines of a childhood drawing. Excess on the tiles is wiped away before it dries. It’s not dramatic work, but it pays you back in saved scrubbing sessions later.
Sealed grout doesn’t stay perfect forever, but it stains more slowly, cleans more easily, and holds onto that “freshly cared-for” look much longer. In other words, if cleaning grout is the reset button, sealing it is the protective case you put on afterward.
When the Quick Trick Isn’t Enough (And How to Tell)
Of course, not every grout story has a quick-fix ending. Sometimes you kneel down on the bathroom floor, brush in hand, and realize the problem isn’t that the grout is dirty—it’s that it’s gone. Cracked lines, missing chunks, sandy bits crumbling under light pressure: these are signs your grout is beyond saving with a simple scrub and seal.
There are also stains that seem to have become part of the grout’s very identity—orange bands from years of iron-heavy water, or nearly black patches where mold has colonized deep inside the line. You can lighten these with more intensive treatments, but you may never love how they look again.
And that’s all right. The point of the quick at-home trick isn’t to pretend that regrouting or professional help is never necessary. It’s to give you a realistic, low-cost first line of defense—to prove to yourself that not every tired surface demands a renovation.
➡️ The streak-free window-cleaning method that still works flawlessly even in freezing temperatures
➡️ The quick and effective method to restore your TV screen to like-new condition
➡️ Thousands of passengers stranded in USA as Delta, American, JetBlue, Spirit and others cancel 470 and delay 4,946 flights, disrupting Atlanta, Chicago, New York, Los Angeles, Dallas, Miami, Orlando, Boston, Detroit, Fort Lauderdale and more
➡️ The sleep pattern that predicts alzheimer’s risk 15 years before symptoms
➡️ These zodiac signs are destined for major prosperity in 2026, according to astrological forecasts
➡️ The RSPCA urges anyone with robins in their garden to put out this simple kitchen staple to help birds cope right now
➡️ The RSPCA urges anyone with robins in their garden to put out this simple kitchen staple today
If, after one or two rounds of careful cleaning and a little sealer, you still step back and feel disappointed every time you look down, that’s your signal. Then you can move on with clarity, knowing you tried the simplest, least invasive options first. Regrouting or bringing in a professional cleaner becomes a choice, not a desperate last-ditch effort.
Small Habits That Keep Grout from Sliding Backward
Once you’ve put in the time and effort to restore your grout, the easiest win is not having to do it all again next month. The good news is that grout, once given some basic love, doesn’t demand constant attention. A few tiny habits can keep it from slipping back into that long, slow slide toward dingy.
In bathrooms, think about what lingers. After hot showers, crack a window or run a fan a little longer than feels necessary. A quick swipe of a squeegee along shower walls can pull away the water that likes to sit in grout lines. In kitchens, change your mop water more often and avoid sloshing dirty water back and forth across the same floor. Spot-clean spills before they have a chance to sink in.
None of this needs to be a chore. It can be folded into the rhythm of daily life: a slow exhale after a shower, a small reset at the end of cooking. Grout responds well to consistent, gentle care—much like the rest of a lived-in home.
Letting the Room Breathe Again
There’s a quiet thrill in rediscovering the surfaces you already own. When your grout brightens, the whole room seems to inhale. Light bounces differently. The tiles you chose years ago look intentional again, instead of overshadowed by the dull outline between them.
You didn’t have to rip anything out, live with dust in your lungs, or spend a month with a half-finished renovation. You just slowed down, learned a little about the material in front of you, and gave it what it needed: time, patience, and a bit of the right kind of attention.
In a culture that loves the drama of “before and after,” there’s something wonderfully grounded about the in-between solution—the one where you don’t replace, you restore. Grout, in all its humble, porous honesty, responds beautifully to that kind of care.
So the next time you catch a glimpse of those darkened lines in the afternoon light and feel the tug of frustration, remember this: there’s a gentler option between ignoring the problem and tearing everything out. Grab a brush, mix a simple paste, and try the quick trick. You might be surprised by how much beauty was hiding right there between the tiles, just waiting to be revealed.
Frequently Asked Questions
How often should I deep-clean my grout?
For most homes, a deep clean every 6 to 12 months is enough, with light maintenance (wiping spills, quick scrubs of trouble spots) in between. High-traffic kitchens or busy family bathrooms may benefit from a deeper clean a bit more often.
Is vinegar safe for all grout and tiles?
Vinegar should not be used on natural stone surfaces like marble, travertine, or limestone, as acids can etch and dull them. On ceramic or porcelain tiles with standard cement grout, it’s usually safe when diluted and used sparingly. Always test a small, hidden spot first.
Can I use a metal brush on grout?
It’s better to avoid metal brushes. They can scratch tiles and damage grout, making it more porous and prone to future staining. A stiff nylon or plastic-bristle brush offers plenty of scrubbing power without the risk of gouging.
What if my grout is still discolored after cleaning?
Stubborn discoloration may be due to permanent staining, old grout, or previous use of harsh products. You can try a grout colorant or stain, which acts like a thin, tinted sealer to even out the shade. If the grout is also cracked or crumbling, regrouting may be the better long-term solution.
How long does grout sealer last?
Most penetrating grout sealers last anywhere from 1 to 3 years in typical household conditions. High-traffic floors and frequently wet areas may need resealing sooner. A simple test: place a few drops of water on the grout—if they soak in quickly instead of beading up, it’s time to reseal.